Image default
Beauty

How To Clean Your Makeup Pouch

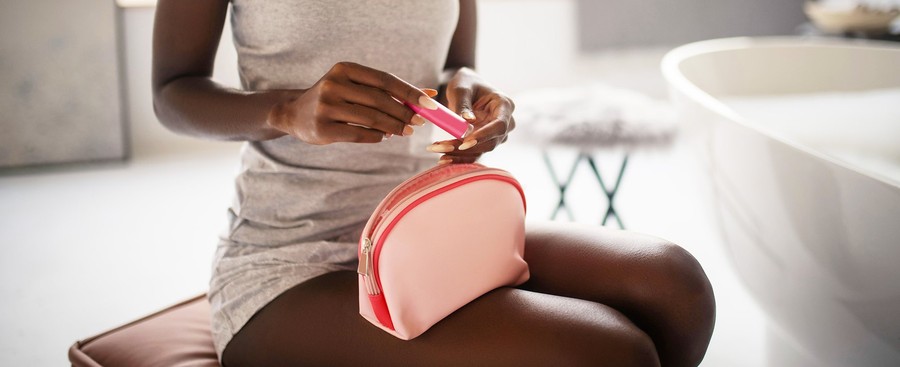
A well-organised and clean makeup pouch is essential for maintaining the hygiene of your makeup products and tools. Over time, dust, spilled powders, and expired items can accumulate, leading to potential skin issues or even damaging your favourite items. Here’s a step-by-step guide to ensure your makeup pouch remains spotless and well-maintained.

Step 1: Empty the Makeup Pouch

The first step is to remove all items from your makeup pouch. Lay everything out on a clean, flat surface to see what you’re working with. Check for any spills, broken containers, or expired makeup products that need discarding.

Step 2: Sort Your Makeup Products

Now that everything is out in the open, sort your makeup products into categories. Separate your lipsticks, foundations, eyeliners, and other items. This will make it easier to identify what needs cleaning and organising. It is also an excellent time to check expiration dates and dispose of anything that has passed its prime.

Step 3: Wash the Makeup Pouch

Once your pouch is empty, it’s time to clean it. If it’s made of fabric, check the care label for washing instructions. For fabric pouches, hand wash or use a gentle cycle in the washing machine with mild detergent. For plastic or leather pouches, use a damp cloth with soap or a sanitising wipe to remove dirt and residue. Ensure the makeup pouch is completely dry before restocking it.

Step 4: Clean Your Makeup Tools and Brushes

Makeup tools and brushes are prone to collecting bacteria, oils, and old makeup. Wash your makeup brushes with a gentle cleanser or brush shampoo. Rinse them thoroughly under lukewarm water, reshape the bristles, and lay them flat to dry on a clean towel. For other tools like eyelash curlers or sponges, use mild soap and rinse well. Regularly cleaning these items ensures they last longer and prevent skin breakouts.

Step 5: Wipe Down Makeup Containers

Your makeup containers can get sticky and dusty over time. Use a damp cloth or a sanitising wipe to clean the outside of your products. Pay special attention to lids, nozzles, or areas that may have accumulated residue. Keeping these clean helps maintain the overall hygiene of your collection.

Step 6: Organise Thoughtfully

Before placing items back into the makeup pouch, consider using small organisers or zip-lock bags to separate categories. This not only keeps everything tidy but also prevents accidental spills. Store frequently used products on top for easy access.

Step 7: Maintain Regularly

To keep your makeup pouch in pristine condition, set a routine to clean it at least once a month. Regular maintenance ensures your makeup tools and brushes stay in good shape and your makeup products remain effective and safe to use. By following these steps, you can prolong the life of your makeup tools and products while ensuring your makeup pouch stays clean and hygienic. A clean makeup pouch isn’t just about organisation; it’s a step towards healthier skin and better application results.

Related posts

Does brow threading hurt? Pain levels, tips, and what to expect

Clare Louise

From Pain To Pleasure: Expert Tips For A Virtually Pain-Free Waxing Experience

Harlan K. Jones

Top Barbershops in Key Biscayne and Miami Lakes for Exceptional Grooming

Billie J. Hill